Some technical changes of XenApp 6
- All XenApp 6 prerequisites are automatically installed during the installation process. As such, only the base Windows Server 2008 R2 operating system must be installed on the server. Automatic reboots will occur during the XenApp installation process.
- Data Store database can only be based on SQL Server 2005/2008, SQL Server Express 2008 or Oracle .
- Citrix policies and farm settings are configured and applied universally as Group Policy Objects (GPOs) that have precedence over other local machine policies.
Installing XenApp 6 server
[Note:
- I am using Windows 2008 R2 with SP1 Operating System. Host name is Xen1.
- Domain is kolkata.com.
- I have already installed XenApp License Server having host name of Citrix.
- I am running MS SQL Server 2005 as datastore. The database name is XenApp]
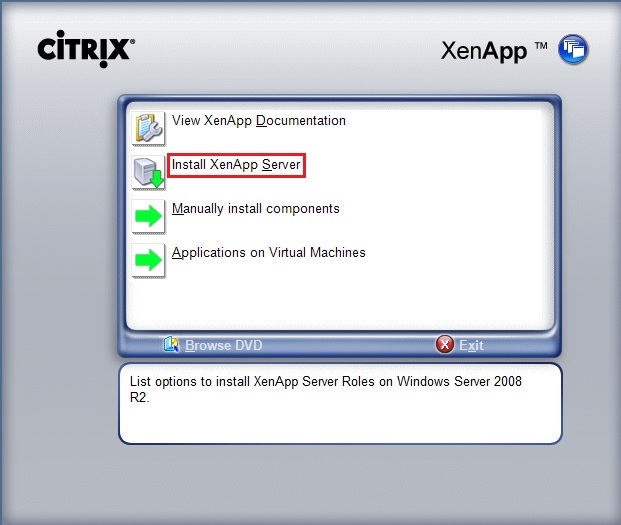
- On the autorun click on Install XenApp Server.
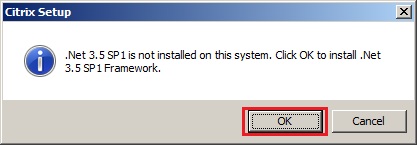
- Click on Yes to install the .Net 3.5 SP1 Framework.
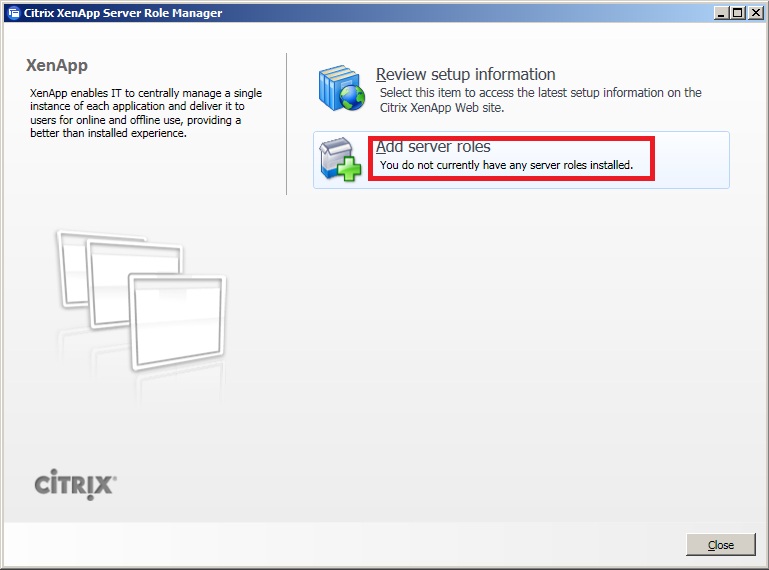
- Click on Add server roles.
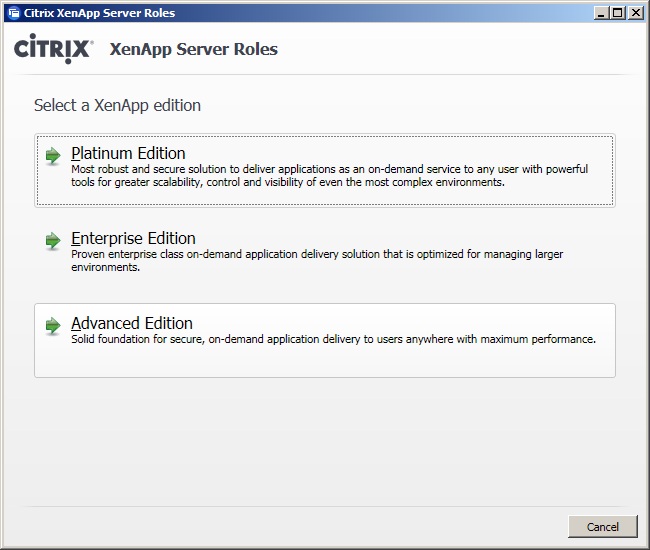
- Select the Edition you want to install.
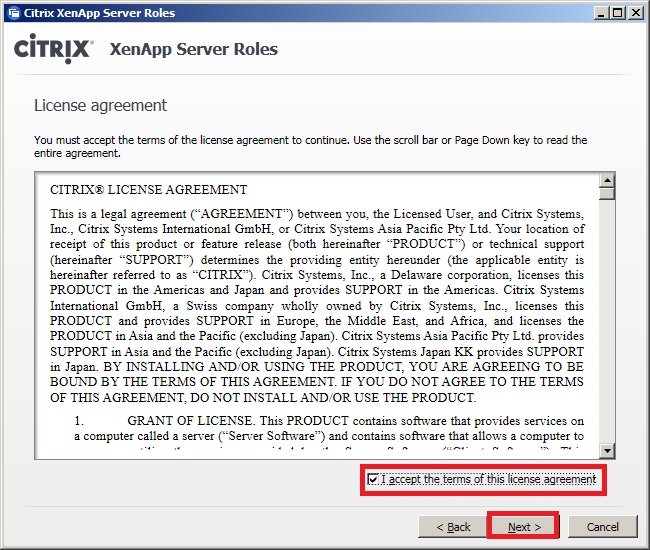
- Accept the License Agreement and click Next.
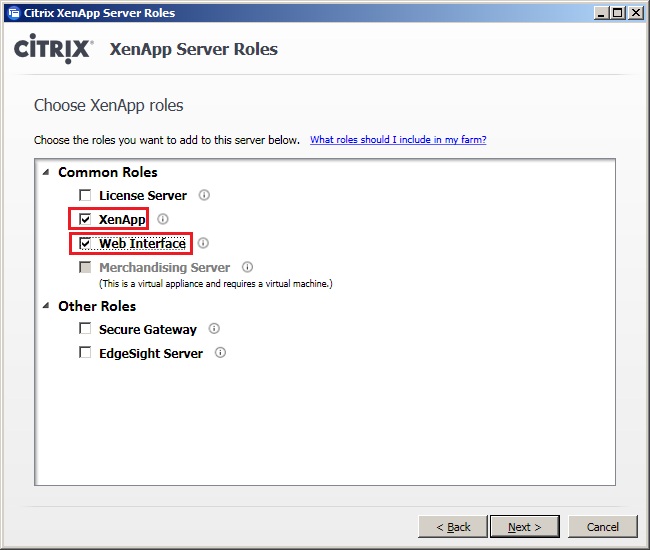
- Select the components you want to install. Since I have License Server already installed, I seletec XenApp and Web Interface components. Click on Next.
- I don't want to enable XenApp to share ports with IIS. Click on Next.
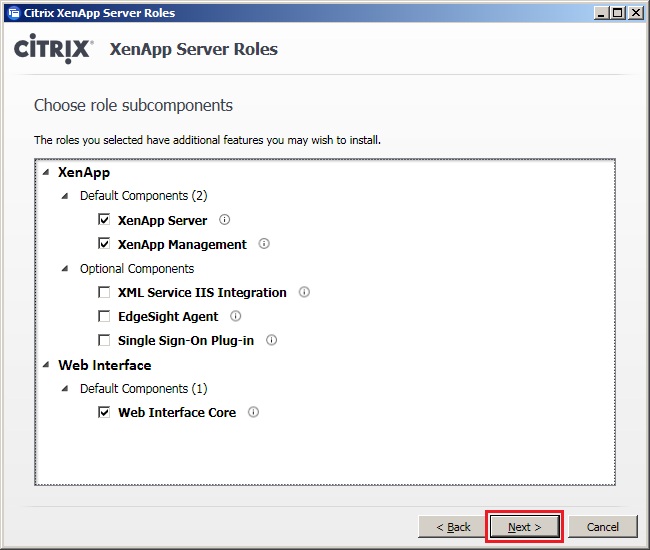
- Click Next.
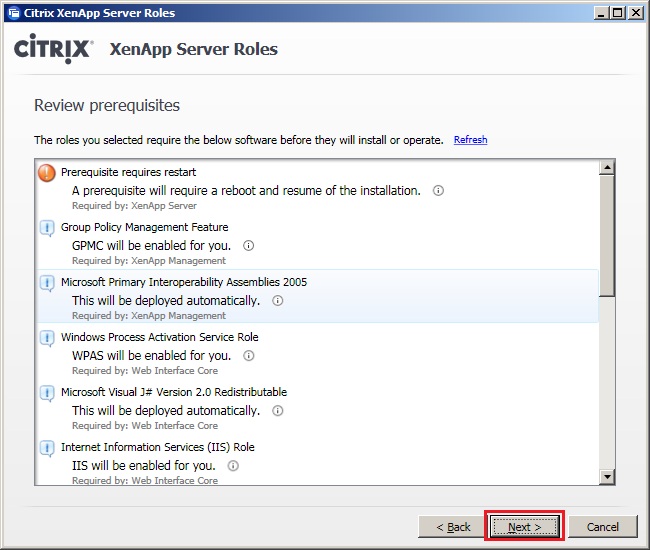
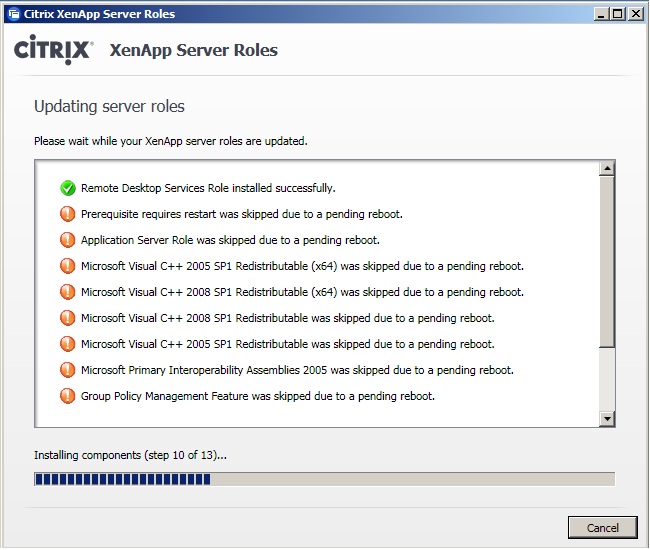
- Click Install.

- Click Finish.
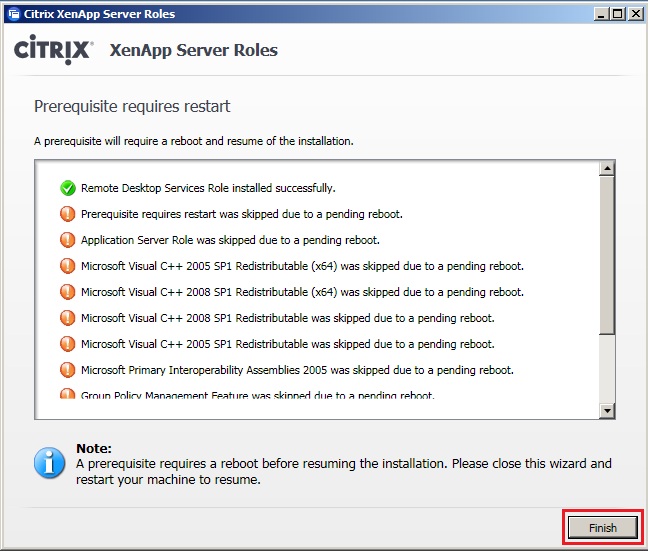
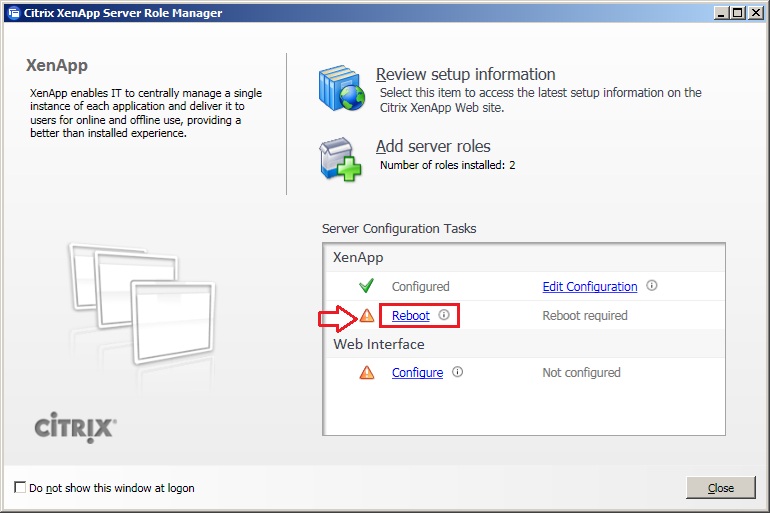
- Click on Reboot link to reboot the server.

- Click Yes to confirm the reboot.
- After restart, click on Resume.
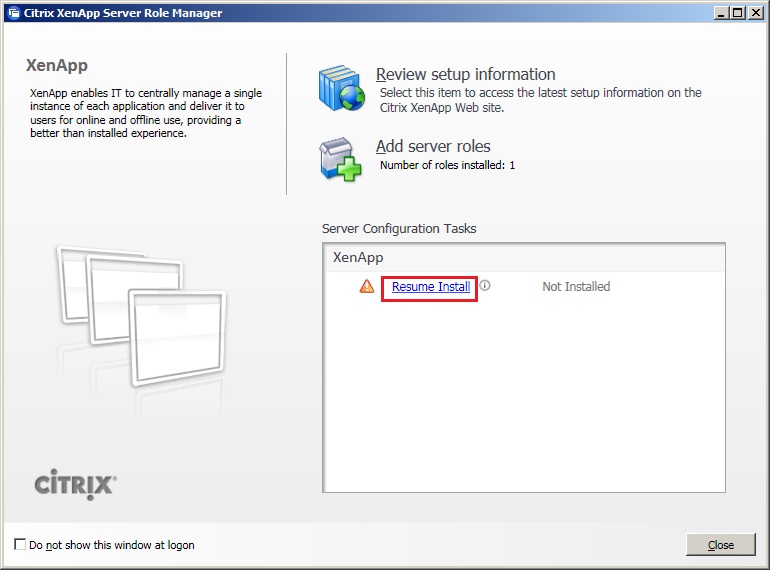
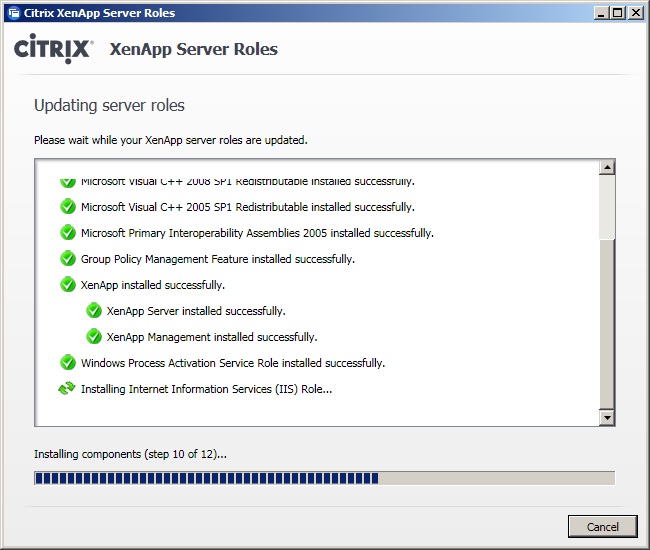
- Click Install.

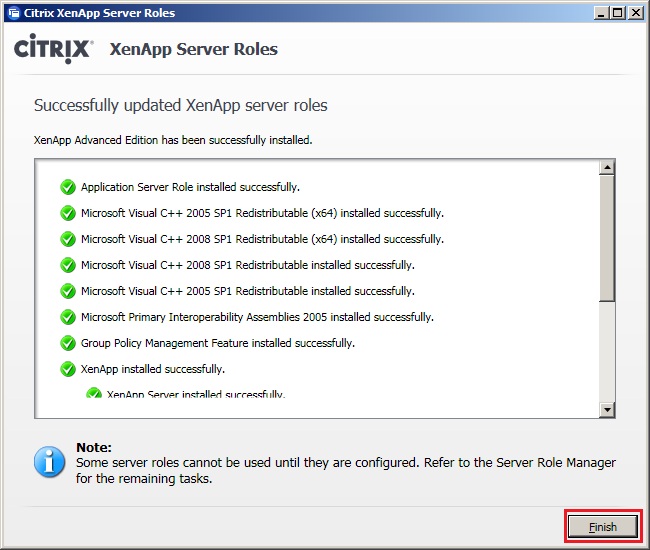
- Click Finish.
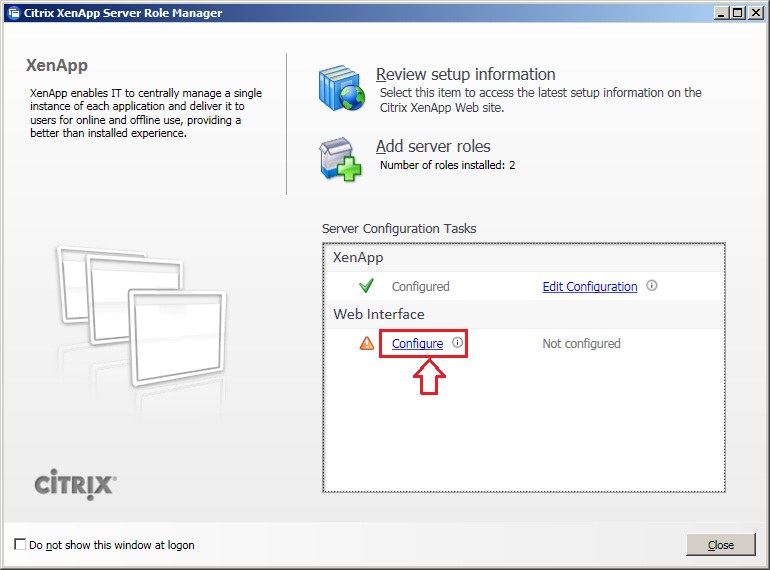
- Click on Configure under XenApp section.

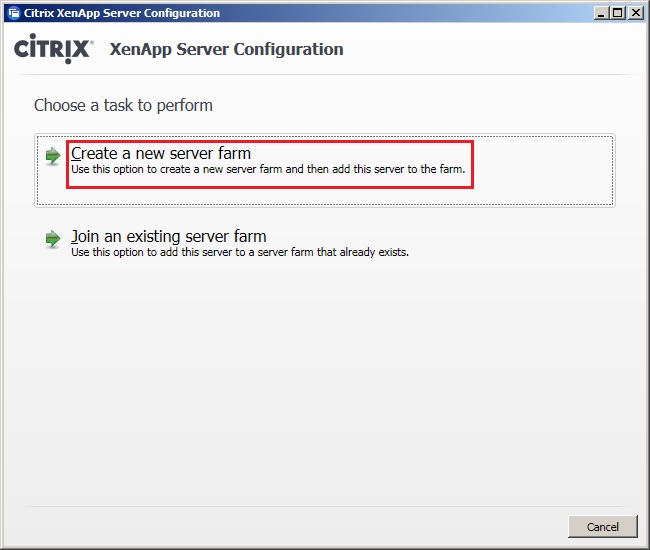
- Click on Create a new server farm.
- Enter the new server farm name and Citrix administrator account. Click Next.
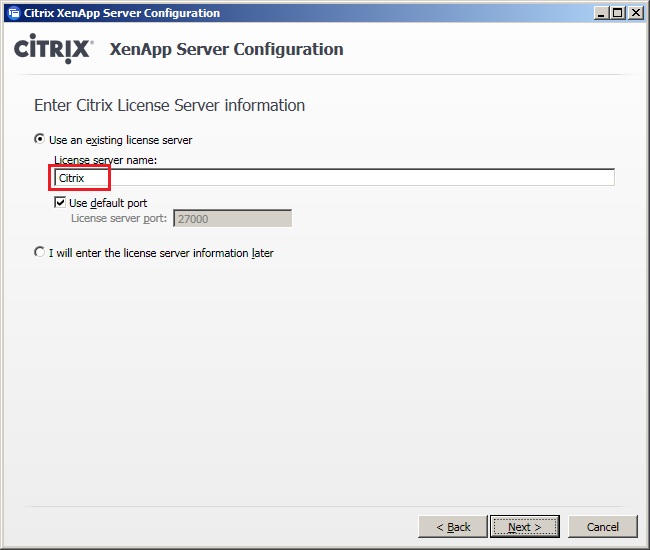
- Enter the license server name and then click Next.
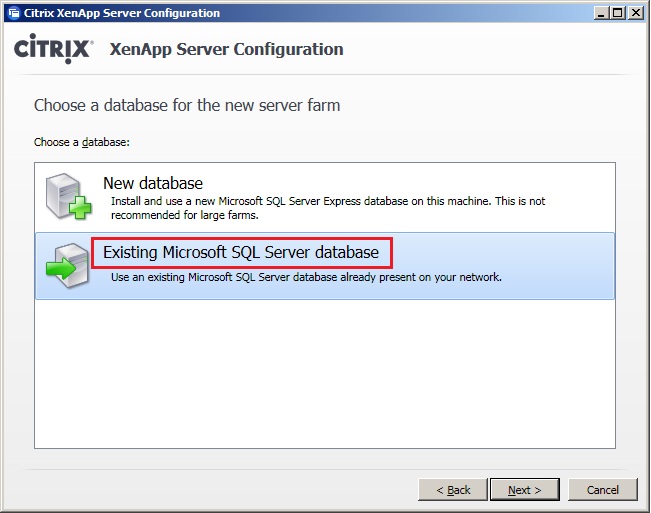
- I am using SQL 2005 server as Datastore and there is an existing database called XenApp. The following window will ask you to create a new database or using the existing database. Here I will select Existing Microsoft SQL Server database. Click on Next.
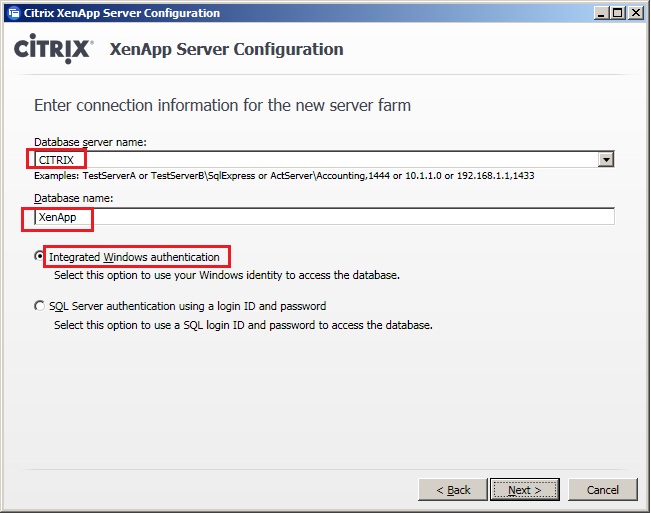
- Select the Database server name (here is Citrix), Database name (here is XenApp) and SQL Server authentication mode (here is Integrated Windows Authentication). Click Next.
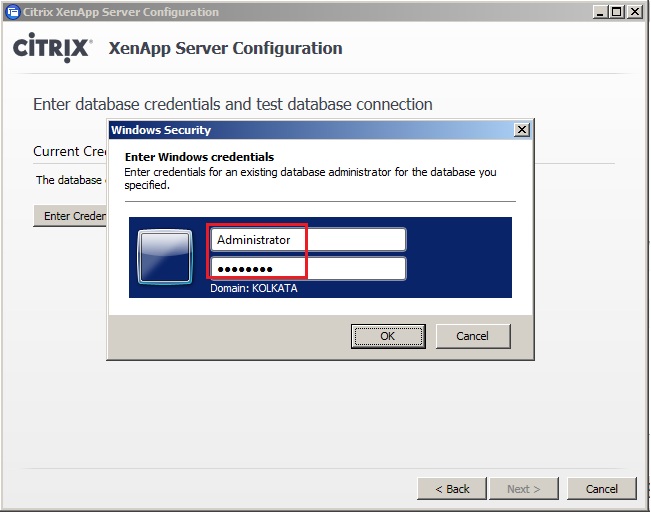
- Enter the domain credentials.
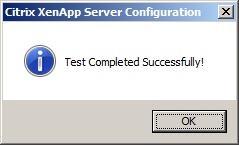
- Click on Test Connection button. On clicking on the button it should show Test Completed Successfully. Click OK to close the message and then click Next.

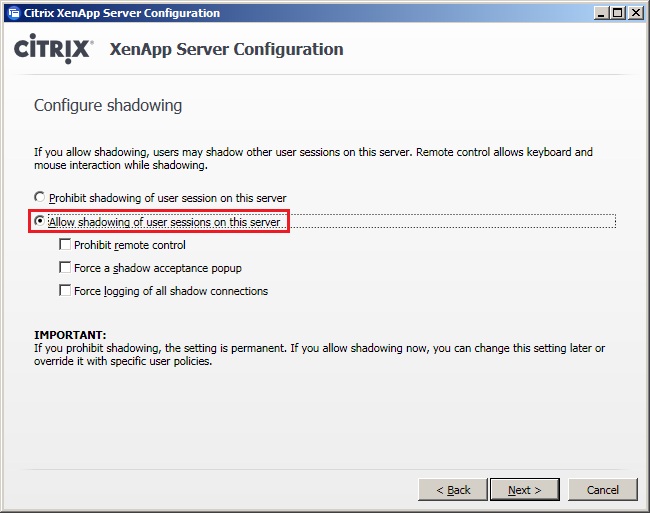
- Select Allow shadowing of user session on this server and then click Next.
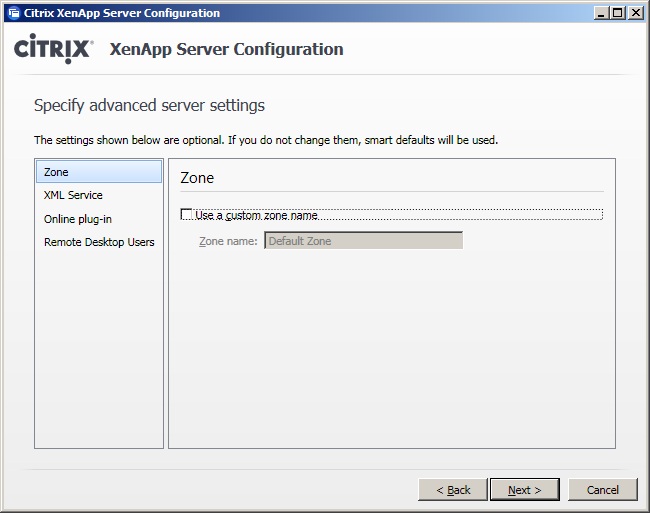
- Here you can enter the custom Zone name or keep it as default. Select your choice and then click Next.
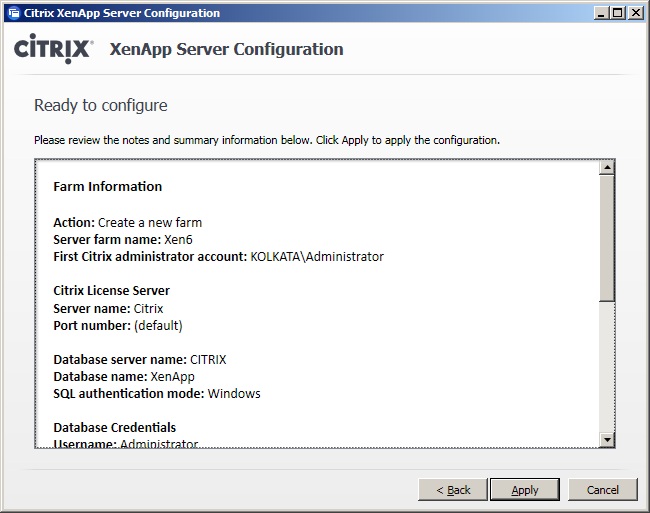
- Review the farm informatin and click Apply.
- Click Finish.
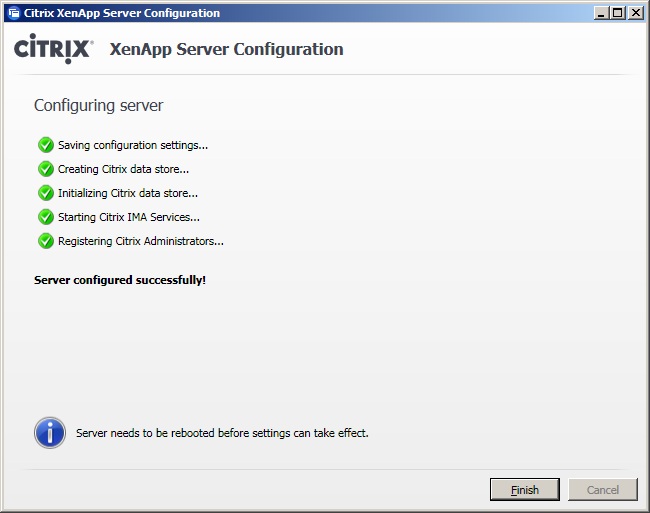
- On the Citrix XenApp Server Role Manager window click on Reboot. Click Yes to restart the server.
- After reboot click on Configure on the Citrix XenApp Server Role Manager window.
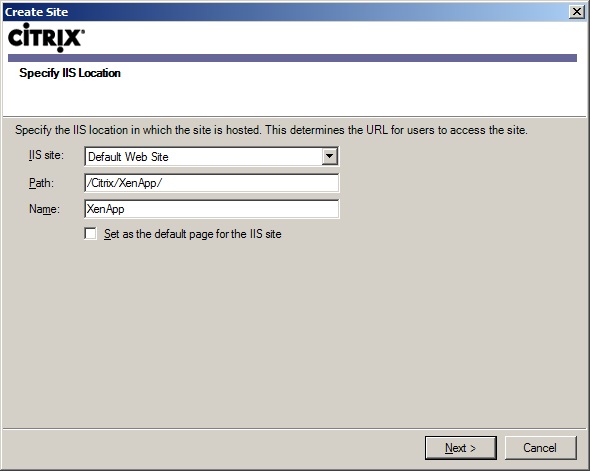
- Select XenApp Web Sites and then click on Create Site on the Actions section.

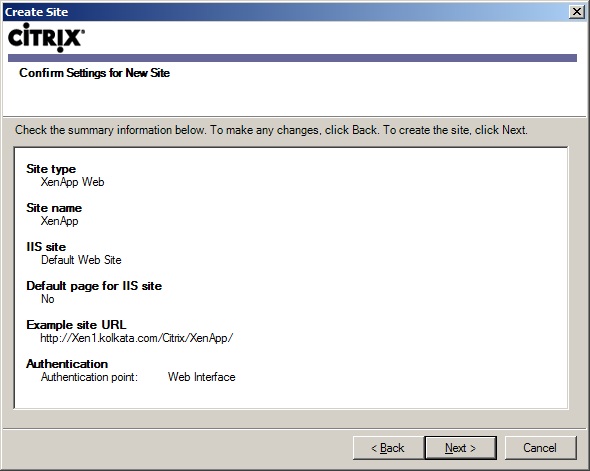
- Click Next.
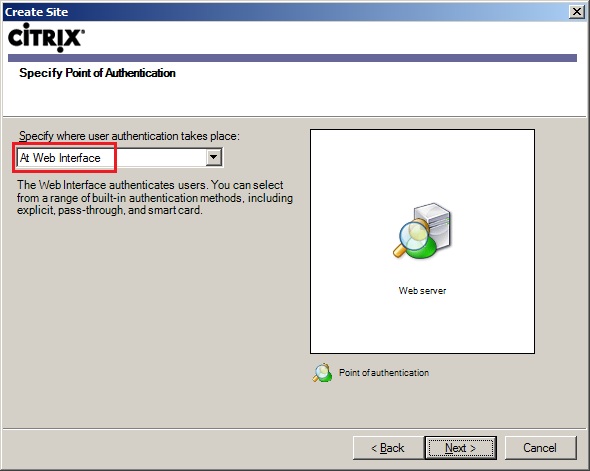
- Select At Web Interface and then click on Next.
- Click Next.
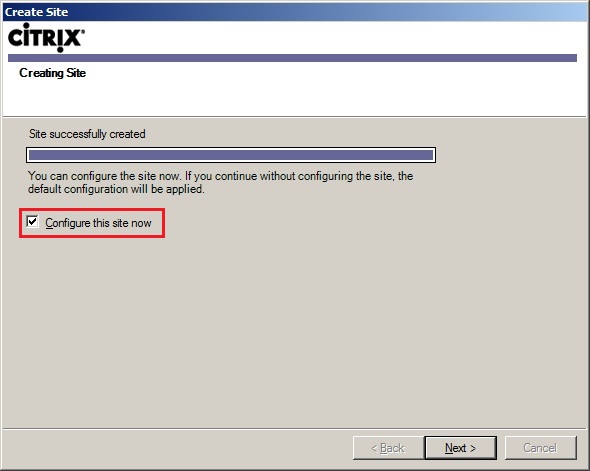
- Ensure the Configure this site now is selected and then click Next.
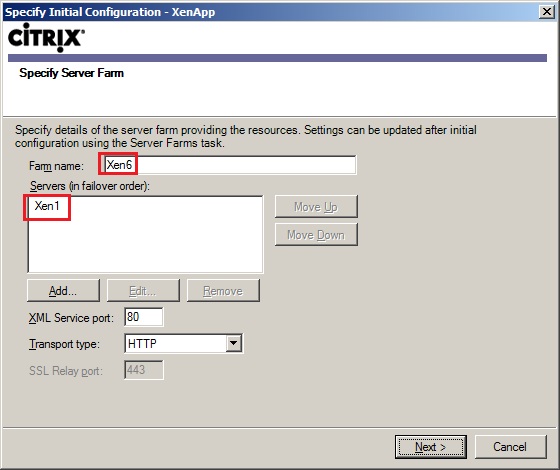
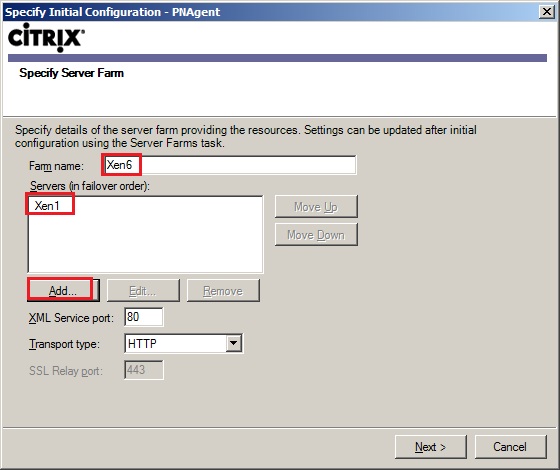
- Enter the farm name and the sever name. Click Next.
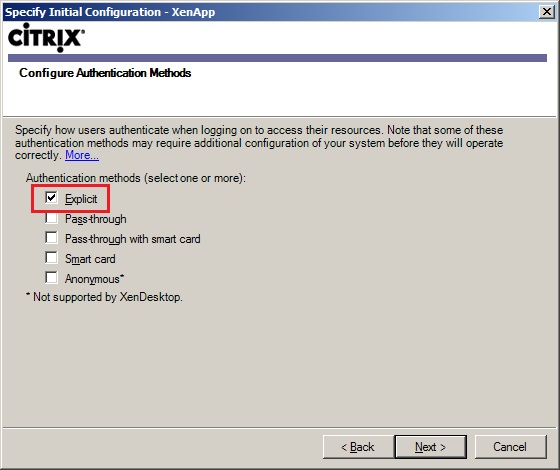
- Select the Authentication Mode and click Next. Here I have selected Explicit.
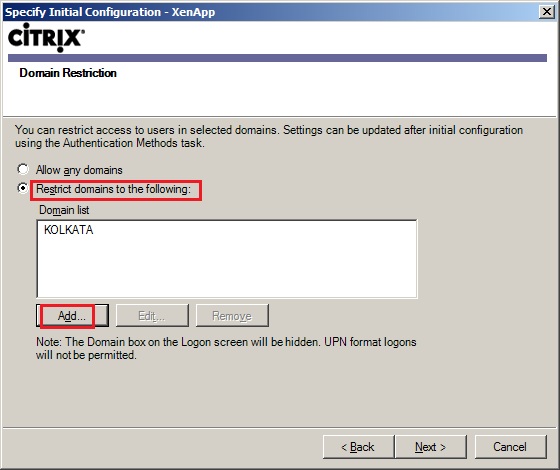
- If you want to restrict users to login from a specific domain only then select Restrict domains to the following and click on Add to add the domain name. Else you can choose Allow any domains radio button.
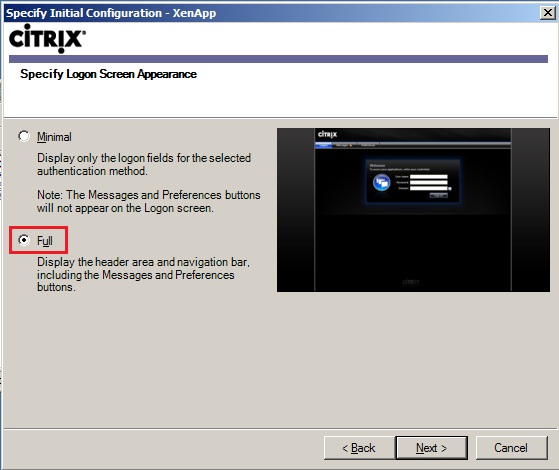
- Select Full and click Next.
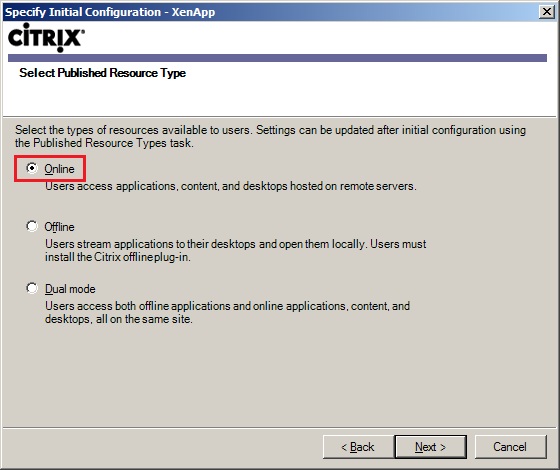
- Select the option Online and then click Next.

- Click on Finish.
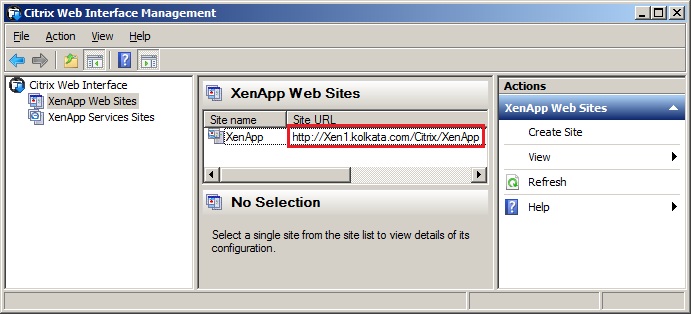
- The newly created site will be shown in the Citrix Web Interface Management console as below.
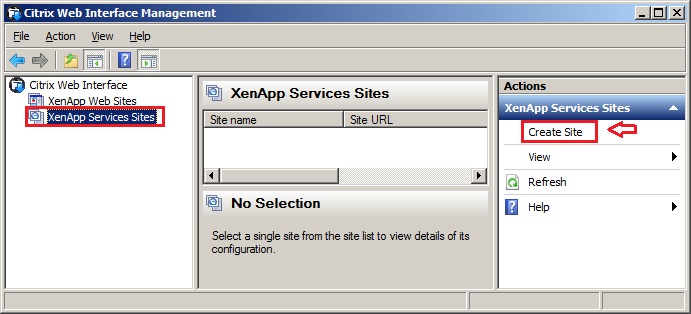
- Now select XenApp Services Sites and then click on Create Site on the Actions section.
- Click Next.
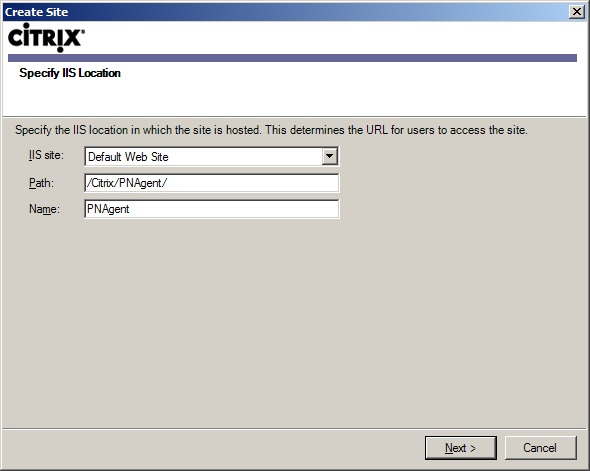
- Click Next.
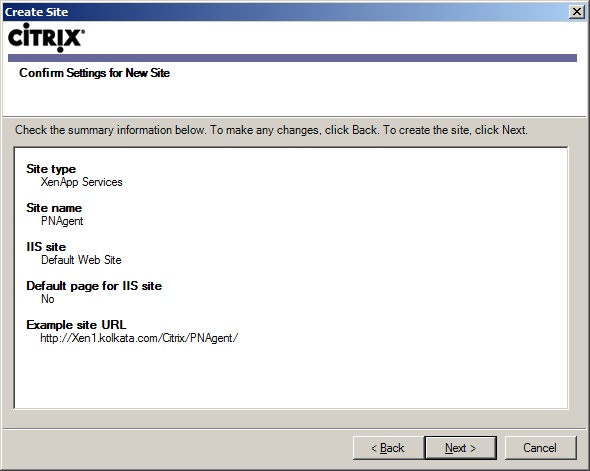
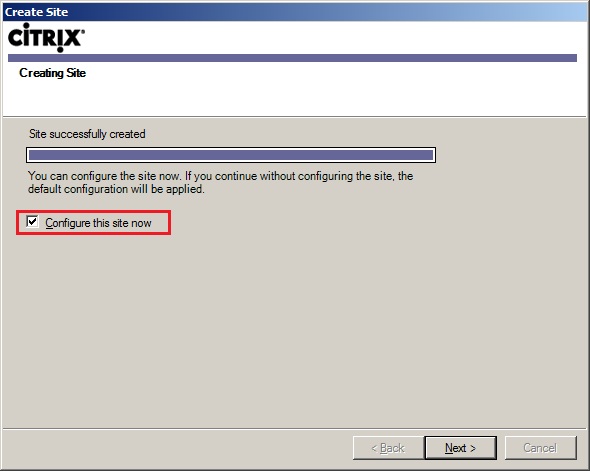
- Ensure that Configure this site now is checked in. Click Next.
- Enter the farm name and click on the Add button to enter the server name. Click Next.
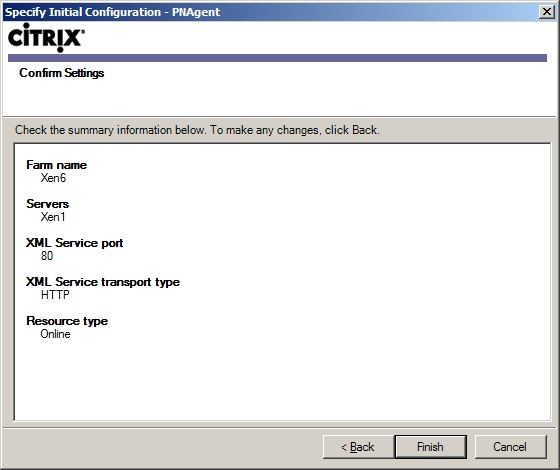
- Select Online and click Next.

- Click Finish.
- The newly created site will be shown in the Citrix Web Interface Management console as below.

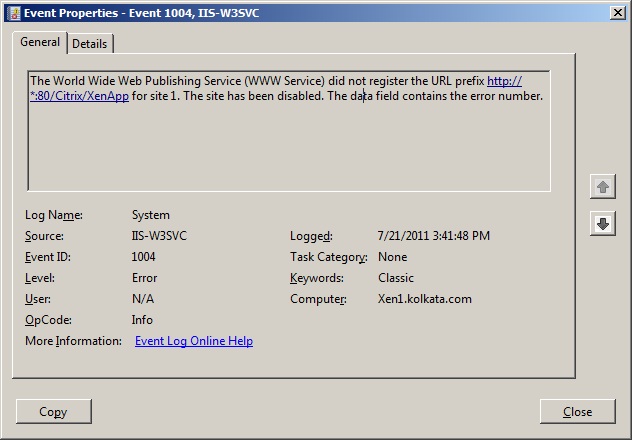
- Try to access the URL http://Xen1.kolkata.com/Citrix/XenApp. If the site does not open, and you get the error log (Event ID: 1004, Source: IIS-W3SVC), then you have to change the XML port. Please click HERE to view setp-by-step information about how to change XML port.
Log Name: System
Source : Microsoft-Windows-IIS-W3SVC
Date :
Event ID : 1004Task Category: None
Level : Error
Keywords : Classic
User : N/A
Computer : Xen1.kolkata.com
Description:
The World Wide Web Publishing Service (WWW Service) did not register the URL prefix http://*:80/Citrix/XenApp for site 1. The site has been disabled. The data field contains the error number.
- If you face Dot Net Authenticode signature issue at the time of opening Citrix Delivery Services Console, click HERE to see the resolution.
- Install the HOTFIX (XA600W2K8R2X64001) to prevent published application launching issue. If you don't install the hotfix, once clicking on the published application the welcome screen get stuck (see the screenshot below).
Please download and install the hotfix from HERE to resolve this issue.

- Servers running XenApp 6 can become unresponsive while shutting down. The issue occurs when when the picadm.sys driver encounters certain error conditions that prevent it from shutting down gracefully.

To resolve this issue download and install the first HOTFIX (XA600W2K8R2X64002) from HERE.
After installation of the first HOTFIX (XA600W2K8R2X64002) download and install the second HOTFIX (XAE600W2K8R2X64018) from HERE.

No comments:
Post a Comment