In a situation it may require to migrate the existing MS Access or MSDE database to SQL database if number or XenApp users or XenApp servers increase time by time. Here is a step-by-step document about how to do that.
The steps are as below.

The steps are as below.
- Step-1: Backup the existing Access database
- Step-2: Create a blank database in SQL server.
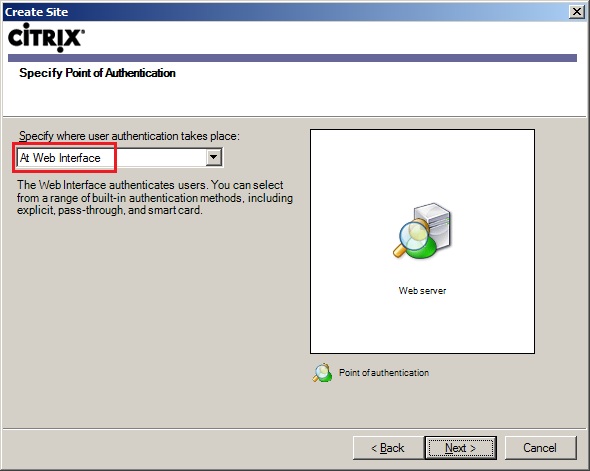
- Step-3: Create a Data Source Name (DSN) file on the XenApp server hosting the Access data store.
- Step-4: Migrate the new data store (use DSMAINT MIGRATE command)
- Step-5: Configure the XenApp server to communicate with the new data store (use DSMAINT CONFIG command).
Note: SQL server must use static port 1433. If firewall is running on the SQL server, please put that port in exception list.
Step-1: Backup the existing Access database
- Open Command Prompt and run the following command. This command will backup the mf20.mdb database file to local C:\ drive.

DSMAINT BACKUP C:\

TIPS: To RESTORE the database steps are followed:
(i) Open Command Prompt and execute the following command to stop the Citrix Independent Management Architecture Service:
Net Stop IMAService
(ii) Run the following command to restore the backed-up database.
DSMAINT RECOVER C:\mf20.mdb
(iii) Start the Citrix Independent Management Architecture service.
Net Start IMAService

Caution: The dsmaint recover command removes the existing Mf20.mdb file from the server. Therefore, do not try to recover the data store with this command without first verifying that the Mf20.bak file exists. If the Mf20.bak file does not exist, run dsmaint backup prior to recovering the data store. If MF20.mdb file does not exist in the "C:\Program Files\Citrix\Independent Management Architecture" folder, you will get the following error at the time of recovery.
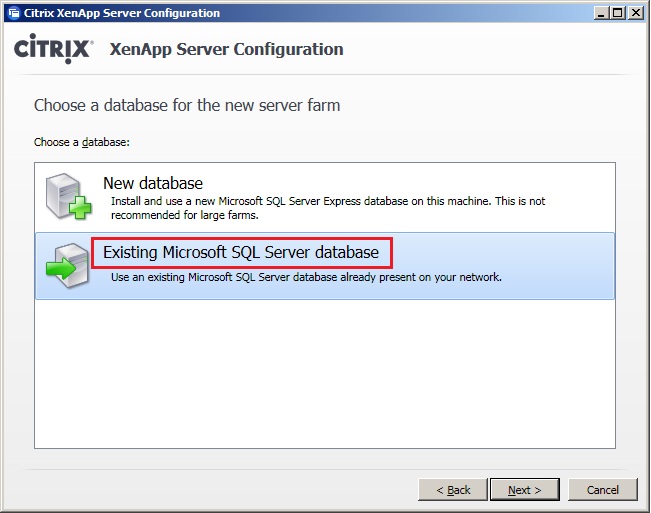
Step-2: Create a blank database in the SQL server
Here I have created the blank database in the SQL server called Xen5_Farm_DB.
Step-3: Create a Data Source Name (DSN) file on the XenApp server hosting the Access data store.
- Go to Start--> Run. Enter ODBCAD32 and click OK.
(OR)
Go to Start --> Administrative Tools --> Data Source (ODBC)

- Change the Look In path the "C:\Program Files\Citrix\Independent Management Architecture". The new DSN file must be placed in this folder as IMA service is programmed to look in only this folder.


- Click on the Add button and select SQL Server. Click on Next.

- Click on the Browse button, go to the location "C:\Program Files\Citrix\Independent Management Architecture" and save the file. You can provide any file name. Here I have saved the DSN file as Xen5_Farm_MF20.dsn. Click Next.

- Click on Finish.

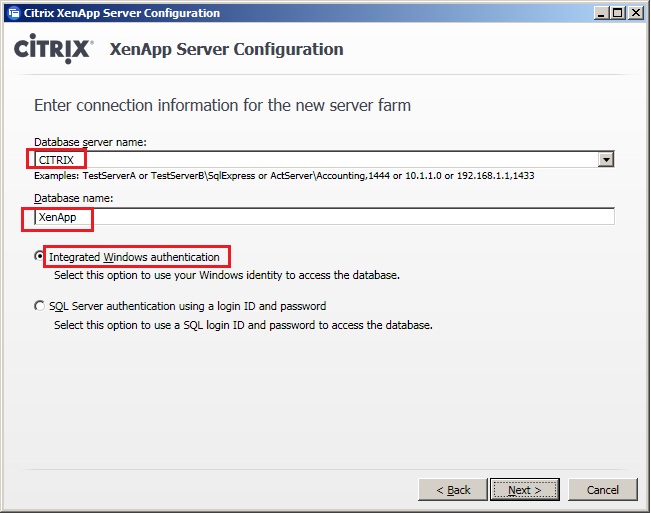
- Enter the description and select the Database server. Here my SQL database server name is CITRIX.

- Select the authentication method. Here I am using SQL server authentication. Click on Next.

- Change the default database to filed to Xen5_Farm_DB.

- Click Finish.

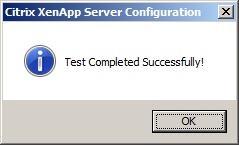
- Click on Test Data Source button. It should show "TEST COMPLETED SUCCESSFULLY". Click OK twice.


- The new DSN file Xen5_Farm_MF20.dsn will be shown in the ODBC console. Click OK.

Step-4: Migrate the new data store
- Open Command Prompt and execute the following command:
DSMAINT MIGRATE /SRCDSN:"C:\Program Files\Citrix\Independent Management Architecture\MF20.dsn" /SRCUSER:citrix /SRCPWD:citrix /DSTDSN:"C:\Program Files\Citrix\Independent Management Architecture\Xen5_Farm_MF20.dsn" /DSTUSER:test\administrator /DSTPWD:p@ssw0rd
/SRCDSN --> is the Access Database dsn file (MF20.dsn) that was created when the Farm was created.
/SRCUSER --> the default source user is citrix
/SRCPWD --> the default source password is citrix
/DSTDSN --> is the new DSN file
/DSTUSER --> is the domain user which is used to log into the SQL database server
/DSTPWD --> is the domain user password

- Click Yes.

- Click Yes.

- Once the migration process completes successfully you will get the following message.

Step-5: Configure the XenApp server to communicate with the new data store.
- Open Command Prompt and execute the following command:
Net Stop IMAService

- Execute the following command:
DSMAINT CONFIG /USER:test\administrator /PWD:p@ssw0rd /DSN:"C:\Program Files\Citrix\Independent Management Architecture\Xen5_Farm_MF20.dsn"

- On successful running of the command you will get the following output:

- Execute the following command to start the IMA service.
Net Start IMAService